- サンプル
- 完成画像
- 全体のコード
- コードのポイント解説
サンプル
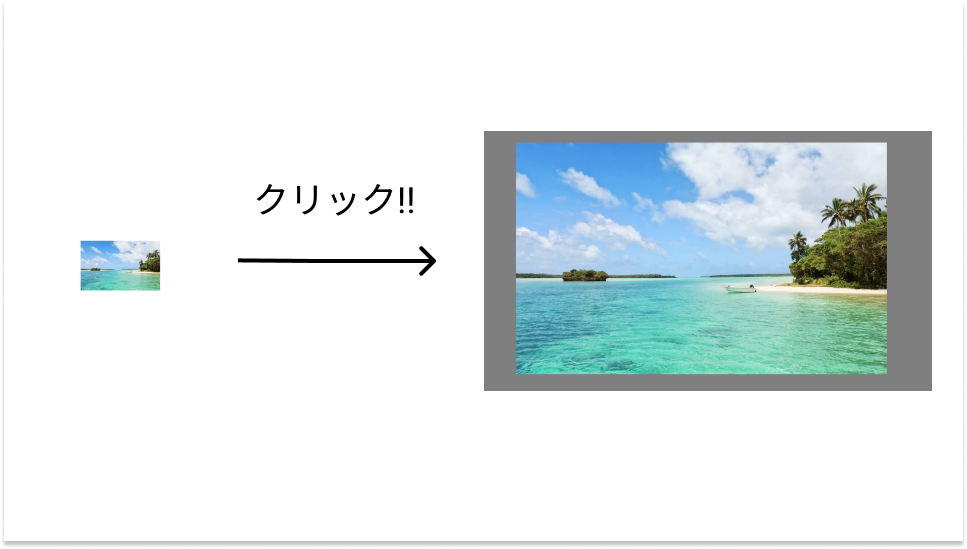
完成画像

サムネイル画像をクリックすると、サイト全体を覆うモーダルを表示させて、拡大画像を表示させるようにしていきます
全体のコード
<!DOCTYPE html>
<html lang="en">
<head>
     <meta charset="UTF-8">
     <meta name="viewport" content="width=device-width, initial-scale=1.0">
     <link rel="stylesheet" href="style.css">
     <title>imagemodal</title>
</head>
<body>

     <div class="modal-wrapper">
          <img src="" alt="" class="modal-image">
     </div>

     <div class="wrapper">
          <img src="images/img.jpg" alt="" class="image" data-src="images/img.jpg">
     </div>

     <script src="script.js"></script>
</body>
</html>
* {
margin: 0;
padding: 0;
box-sizing: border-box;
}
.wrapper {
display: flex;
justify-content: center;
align-items: center;
width: 100%;
height: 100vh;
}
.wrapper img {
width: 200px;
object-fit: contain;
cursor: pointer;
}
/* modal */
.modal-wrapper {
width: 100%;
height: 100%;
position: fixed;
top: 0;
left: 0;
background: rgba(0,0,0,0.5);
pointer-events: none;
opacity: 0;
transition: 0.25s ease-out;
}
.modal-wrapper.show {
opacity: 1;
pointer-events: all;
}
.modal-image {
position: absolute;
max-width: 80%;
max-height: 80%;
top: 50%;
left: 50%;
transform: translate(-50%, -50%);
object-fit: cover;
opacity: 0;
transition: 0.5s ease-out;
}
.modal-image.show {
opacity: 1;
}const modalWrapper = document.querySelector('.modal-wrapper');
const images = document.querySelectorAll('.image');
const modalImage = document.querySelector('.modal-image');
images.forEach(function(image) {
image.addEventListener('click', function() {
modalWrapper.classList.add('show');
modalImage.classList.add('show');
var imageSrc = image.getAttribute('data-src');
modalImage.src = imageSrc;
});
});
modalWrapper.addEventListener('click', function() {
if (this.classList.contains('show')) {
this.classList.remove('show');
modalImage.classList.remove('show');
}
});コードのポイント解説
35、52行目 .modal-wrapper.show .modal-image.show
modal-wrapperクラス、modal-imageクラスにshowクラスが付与された場合にCSSが適応される。
この場合opacity(透明度)を0から1にすることで、表示させている。
.modal-wrapper .show クラスの間にスペースがある場合は、modal-wrapper クラスの子クラスの showクラスにCSSが適応されるになってしまうので、注意
これを利用して以下が手順
- サムネイルをクリックするとmodal-wrapperクラスとmodal-imageクラスにshowクラスを付与する。
- さらに、modal-imageクラスのsrcに、サムネイルのdata-srcから取得したURLを入力し、画像を表示させる。
JavaScriptのコードの解説
5〜13行:ページ内のimageクラスを取得し、imageクラスごとにクリックした際のイベントを登録する。上に書いたようにmodal-wrapperとmodal-imageクラスにshowクラスを付与し、srcにURLを入力している。
15〜18行:モーダル上の画面全体を覆っているmodal-wrapperクラスをクリックした際のイベント、もしshowクラスがmodal-wrapperに付与されていたら、modal-wrapperとmodal-imageからshowクラスを取り除く処理をしている。
ここでCSSのpointer-eventsがnoneのままだったらクリックイベントがおこらないので、忘れずに記入しておく。
アニメーションを追加してもっと見た目を良くする
上から画像が降りてくるアニメーションに変更する。
.modal-image {
     transform: translate(-50%, -60%);
     transition: 0.5s ease-out;
}
modal-imageクラスの translate(-50%, -60%);に変更すると、画像が上から降りてくるアニメーションに変更できる。
translate(-50%, -40%);ならば、下からtranslate(-40%, -50%);ならば右から、translate(-60%, -50%);ならば、左からのアニメーションになる。


